What Are the Installation Requirements and Setup Steps for a Bakery Vacuum Cooling Machine?
You just bought a vacuum cooler, but now you are panicking about the installation. You picture broken pipes, blown fuses, and weeks of downtime. You worry that your factory is not ready for such high-tech equipment.
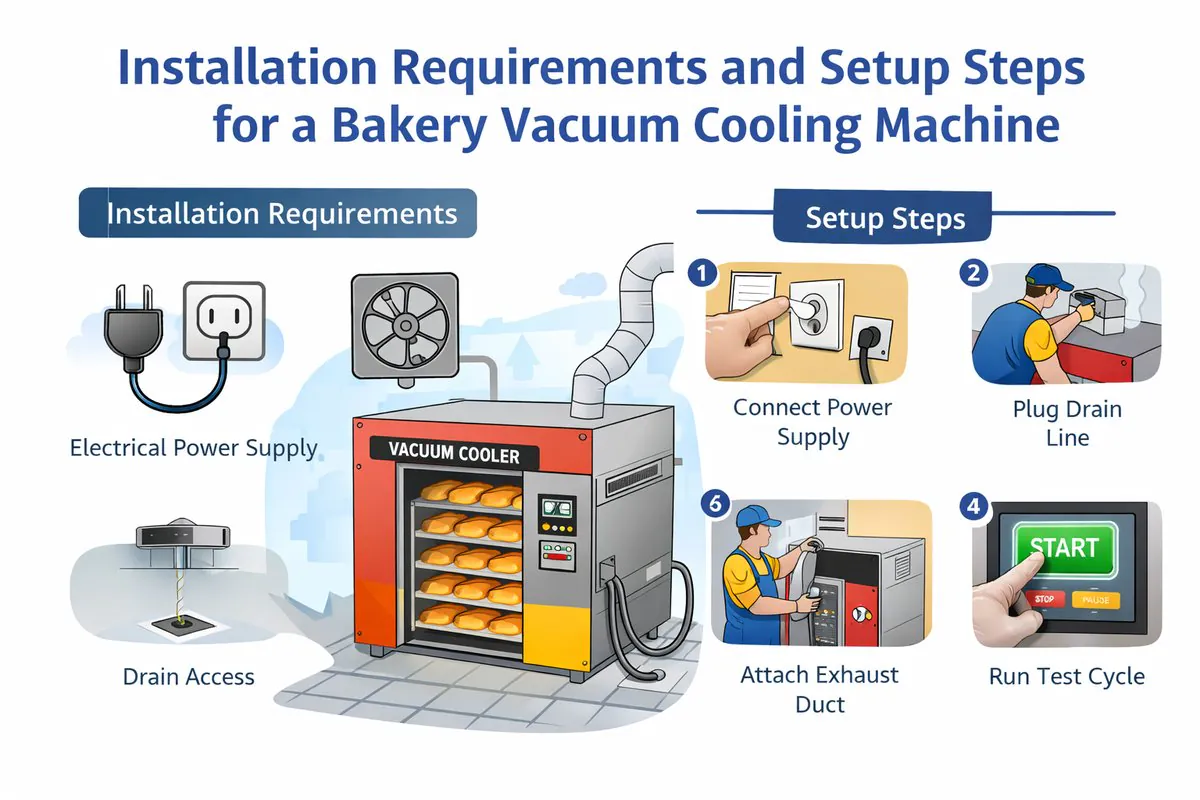
Installation is actually straightforward if you prepare four key areas: a stable 3-phase power supply, a clean water loop for the condenser, a level reinforced floor, and a strategic location near your ovens. With proper planning, setup takes only 2 to 3 days.
As a manufacturer at Allcold, I have overseen hundreds of installations, from small artisan shops in Europe to massive industrial plants in Mexico. I often tell my client Norman, "The machine is the easy part; the preparation is the hard part." If you prepare your facility correctly, the installation is simply "plug and play." If you ignore the requirements, you will face delays. Today, I want to walk you through the exact checklist you need to follow to ensure your new machine starts making money on Day 1.
Do You Need a Massive Power Supply Upgrade?
You worry that plugging in this machine will dim the lights in the whole neighborhood. You fear your current electrical panel cannot handle the load and that you will need to spend thousands on a new transformer.
Most industrial vacuum coolers require a standard 3-phase power connection. While the pumps are powerful, modern Variable Frequency Drives (VFD) prevent power spikes, meaning you likely do not need a substation upgrade, just a dedicated breaker.
Understanding the Electrical Load
When I talk to Carlos in Mexico, his first question is always about "Amps." He runs a lot of ovens, and his grid is not always stable. He is terrified of tripping the main breaker.
Here is the reality of the electrical setup.
1. Voltage and Phase:
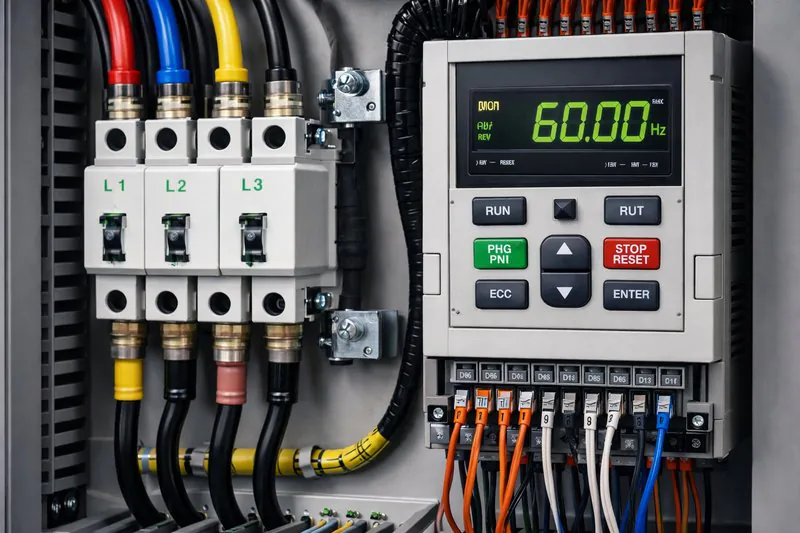
We almost always use 3-Phase Power1. Single-phase (like you have at home) is not enough for the motors we use.
In China and Europe, this is usually 380V or 400V / 50Hz.
In the USA (for Norman), it is usually 480V / 60Hz.
In Mexico (for Carlos), it is often 220V / 3-Phase / 60Hz.
Crucial Point: You must tell us your voltage before we build the machine. We customize the motors and the electrical components to match your factory. If you get this wrong, the machine will not run.
2. The Role of the Inverter (VFD):
In the old days, starting a 50HP motor was like a bomb going off in your electrical panel. The "in-rush current" was huge—sometimes 5 or 6 times the running current.
At Allcold, we use Variable Frequency Drives (VFD)2, usually from brands like Danfoss or Siemens.
The VFD is a soft-starter. It ramps the motor up slowly. It goes from 0% to 100% over 10 or 20 seconds.
This means you do not see a massive spike in your electricity usage. If the machine is rated for 60 Amps, you generally only need a breaker sized for roughly 80 Amps. You do not need a breaker for 300 Amps. This saves you a lot of money on electrical infrastructure.
3. Cable Sizing and Distance:
You need to measure the distance from your main distribution board to the machine location.
If the distance is long (over 50 meters), you must use a thicker cable. This prevents "Voltage Drop3." If the wire is too thin, the voltage drops by the time it reaches the machine. Low voltage makes the motors run hot and can burn them out.
We always provide a "Cable Sizing Chart4" to our clients before shipping. I always advise hiring a certified local electrician to run this cable before the container arrives.
| Electrical Component | Requirement | Why it Matters |
|---|---|---|
| Voltage Supply | 3-Phase (220V/380V/480V) | Matches local grid to motor specs. |
| Breaker Size | ~1.25x Rated Amps | Safety buffer without oversizing. |
| Cable Gauge | Based on Distance | Prevents voltage drop and fire risk. |
| Grounding (Earthing) | < 4 Ohms resistance | Critical for PLC safety and personnel safety. |
| Control Logic | VFD / Soft Start | Eliminates power surges on startup. |
Is Your Water Supply Sufficient for the Job?
You might ignore the water requirements, thinking you can just hook up a garden hose. This mistake is the number one cause of alarms and shutdowns during the first week of operation.
The vacuum pump generates heat and needs a consistent water flow to stay cool. You need a dedicated water tower or a chiller loop that provides proper flow rate and pressure, rather than relying on inconsistent tap water.
 Cooling Tower5 (The Standard Way)
This is what I recommend for 90% of my customers.
A cooling tower is a simple device that sits outside or on the roof. It uses a fan to cool water and recycles it.
- The Loop: Water goes from the Tower -> Machine -> Tower.
- Efficiency: You use the same water over and over. You only top up a small amount due to evaporation.
- Requirement: You need to install PVC or Stainless Steel pipes from the roof to the machine. You also need a small water pump (2HP or 3HP) to push the water.
Option 3: The Chiller (The "High-End" Way)
For clients in very hot climates, like Carlos in Mexico where the ambient air is 40°C, a cooling tower might struggle. In this case, we use an industrial chiller. This actively refrigerates the water.
It guarantees the water is always at 25°C, ensuring the vacuum pump runs at peak performance.
Pressure and Flow Rate6:
The machine has a flow switch. It is a safety device. If it does not detect water flow, the machine will not start.
Typically, we need:
- Pressure: 2 to 4 Bar.
- Flow Rate: 10 to 15 cubic meters per hour (depending on machine size).
- Pipe Size7: Usually 1.5 inch or 2 inch pipes. Do not use narrow 1/2 inch household pipes; they restrict the flow too much.
I remember a client in India who used very thin pipes. The water pump was screaming, but not enough water reached the cooler. The machine kept showing "Error: Overheat." We changed the pipes to 2-inch PVC, and the problem vanished instantly.
| Water System Type | Pros | Cons | Best For |
|---|---|---|---|
| City Water (Open Loop) | Low upfront cost | High water bill, unstable pressure | Emergency only |
| Cooling Tower | Economical, saves water | Needs roof space, some evaporation | Most Bakeries |
| Industrial Chiller8 | Precise temperature control | Higher electricity cost, expensive | Hot Climates (>35°C) |
| Pipe Material | PVC or Stainless | — | Prevent rust/corrosion |
Where Should You Position the Machine for Maximum Efficiency?
You are tempted to shove the machine in a dark corner where you have empty space. This creates a logistic nightmare for your bakers, adds unnecessary movement, and slows down your entire production line.
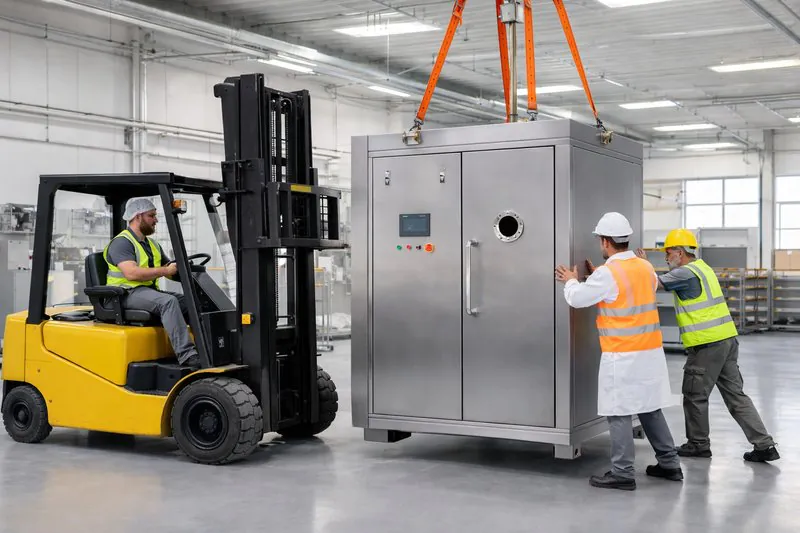
The machine must sit in the "golden zone" between the oven out-feed and the packaging room. You need a level floor capable of supporting 3 to 5 tons, and enough clearance for door swings and maintenance access.
 Lean Manufacturing9."
When I advise Sophia in Singapore, space is her biggest constraint. However, placing the machine in the wrong spot can ruin the workflow.
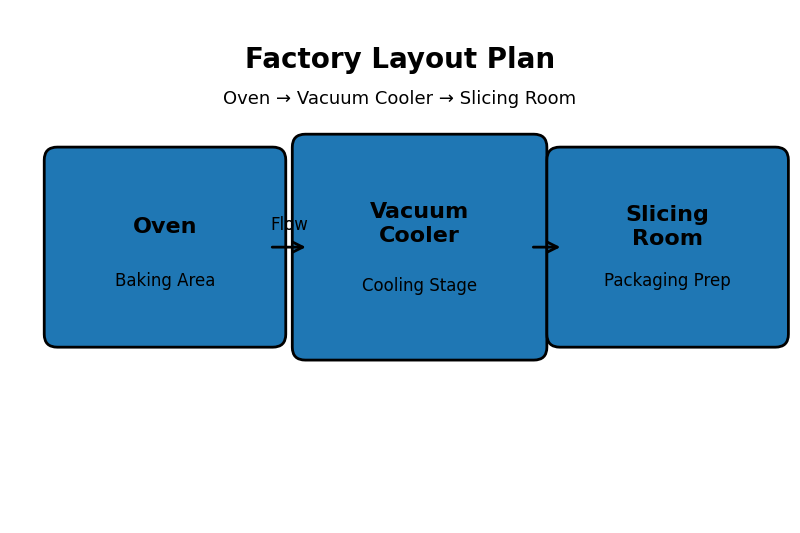
1. The Workflow Connection:
The vacuum cooler is the bridge between "Hot" and "Cold."
- Input Side: It should be close to the ovens. You do not want your bakers pushing hot, unstable trolley racks across 50 meters of bumpy floor. The shorter the distance, the better.
- Output Side: It should open directly into the "High Care" or Packaging area.
- The "Pass-Through" Option: We often build machines with two doors (front and back). This is the best setup for hygiene. The dirty side (oven area) loads the machine. The clean side (packaging room) unloads the machine. The vacuum cooler acts as an "airlock" or a wall between the raw zone and the clean zone. This is excellent for HACCP and food safety standards10.
2. The Floor Requirements:
These machines are heavy. A standard 2-rack cooler weighs about 3,000 kg. A 4-rack cooler can weigh 6,000 kg.
- Leveling: The floor must be perfectly level. If the floor is uneven, the heavy steel chamber can twist slightly. Even a 2mm twist can prevent the door seal from closing tightly. If the door doesn’t seal, you cannot get a vacuum.
- Pit vs. Ramp:
- Ramp: The simplest installation. We provide a stainless steel ramp. You push the trolley up the ramp into the chamber. It is cheap and easy, but pushing heavy trolleys uphill is hard work for staff.
- Pit Installation11: This is the professional choice. You dig a shallow pit (usually 15cm to 20cm deep) in the concrete. We sink the machine into the floor so the chamber floor is flush with your factory floor. Trolleys roll in smoothly with zero effort. This requires construction work before delivery, but your staff will thank you forever.
3. Maintenance Space12:
Do not push the machine against a wall.
We need access to the back and sides.
- Oil Changes: The vacuum pump needs oil changes every 500 to 1000 hours. The technician needs space to slide the pump out or reach the drain valve.
- Electrical Panel: The door of the electrical cabinet must be able to open fully (90 degrees) for safety checks.
- Ventilation: The motors have fans. If you block the airflow, they overheat. Leave at least 1 meter of space around the machine.
| Installation Factor | Requirement | Consequence of Failure |
|---|---|---|
| Floor Load | Reinforced Concrete | Floor cracking or machine sinking. |
| Levelness | < 2mm per meter | Door leaks, vacuum failure. |
| Access Space | > 1 meter on all sides | Impossible to service pumps/panels. |
| Door Configuration | Single vs. Pass-Through | Impacts hygiene zoning (HACCP). |
| Loading Style | Pit or Ramp | Impacts worker fatigue/safety. |
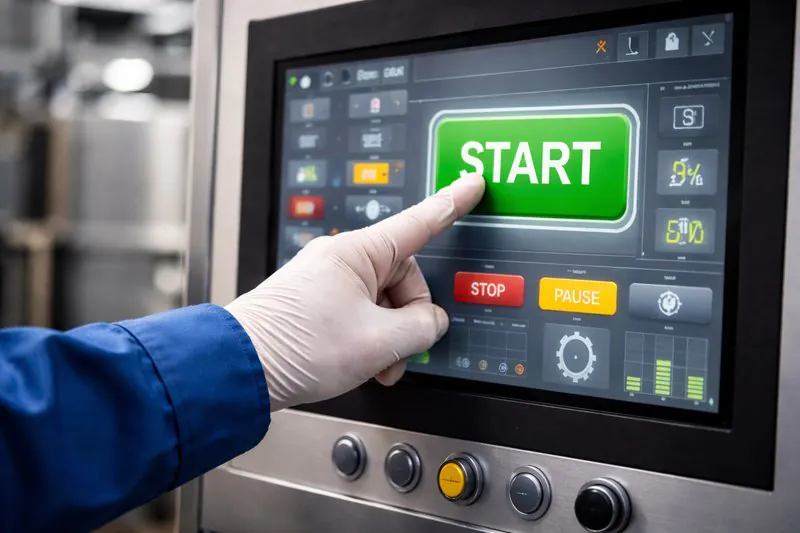
How Difficult is the Commissioning and Training Process?
You fear that you need a PhD in computer science to operate the control panel. You worry your staff will break the machine on the first day or that the settings will be too complex to manage.
Modern setups are "Plug and Play" with pre-programmed recipes. Commissioning involves calibrating the pressure sensors, setting the water valves, and training your staff on the simple touchscreen interface, usually completed in less than 48 hours.
The Software and Human Element
Once the wires are connected and the water is flowing, we move to the final stage: bringing the machine to life.
At Allcold, we design our software to be "Baker Friendly," not "Engineer Friendly." We know that the person operating the machine is likely not a technical expert.
1. The PLC and Remote Commissioning:
We use a PLC (Programmable Logic Controller) as the brain of the machine.
For remote clients, like Sophia, we install a remote access module (using a SIM card or Ethernet cable).
This allows my engineers in China to "dial in" to the machine in Singapore.
- We can check the sensor readings.
- We can update the software.
- We can troubleshoot if a valve is stuck.
This removes the fear of being "alone" with the machine. We are virtually standing next to you.
2. Recipe Programming:
You do not run the machine manually every time. We set up "Recipes."
- Recipe 1: Baguettes (Target: 30°C, Vacuum Speed: Fast).
- Recipe 2: Sponge Cake (Target: 25°C, Vacuum Speed: Slow/Gentle).
- Recipe 3: Sourdough (Target: 35°C, Hold Time: 2 mins).
During commissioning, we run test batches with your actual bread. We tweak the settings. Once we find the perfect parameters, we save them.
After that, the operator simply presses "Recipe 1" and "Start." That is it.
3. Staff Training:
Training takes about half a day.
We teach your team three things:
- Operation: How to load the racks and use the touchscreen.
- Safety: How to use the emergency stop and understanding the door safety locks.
- Daily Care: The "Sanitation Cycle." The machine has a self-cleaning mode where it sucks cleaning solution through the pipes to kill bacteria. We teach them how to run this at the end of every shift.
I always advise having your Maintenance Manager present during the installation. They need to know where the oil filters are and how to check the water pressure. But for the daily operators, the training is very simple. If they can use a smartphone, they can use our vacuum cooler.
| Commissioning Step | Time Required | Goal |
|---|---|---|
| System Check | 2-4 Hours | Verify rotation of pumps, check for leaks. |
| Parameter Setup | 4-6 Hours | Calibrate pressure sensors and temp probes. |
| Test Baking | 1 Day | Fine-tune recipes for specific products. |
| Staff Training | 4 Hours | Safety, Operation, and Cleaning protocols. |
| Handover | 1 Hour | Final sign-off and warranty activation. |
Conclusion
A smooth installation is the foundation of a long machine life. By securing your power, water, floor, and workflow before the machine arrives, you transform a potentially stressful week into an exciting upgrade. We build the machine to work hard, but you build the environment for it to succeed.
-
Understanding 3-Phase Power is crucial for efficient electrical setups, especially in industrial applications. ↩
-
Exploring VFD technology can help you optimize motor control and reduce energy costs significantly. ↩
-
Learning about Voltage Drop can help you maintain equipment efficiency and avoid costly damage. ↩
-
A Cable Sizing Chart is essential for preventing voltage drop and ensuring safe electrical installations. ↩
-
Explore the advantages of cooling towers for vacuum pumps, including efficiency and cost savings. ↩
-
Understand why maintaining proper pressure and flow rate is crucial for the efficiency and safety of cooling systems. ↩
-
Discover the impact of pipe size on water flow and system performance, ensuring your setup runs smoothly. ↩
-
Learn how industrial chillers maintain optimal temperatures, especially in hot climates, ensuring peak performance. ↩
-
Explore Lean Manufacturing principles to enhance efficiency and reduce waste in your operations. ↩
-
Understanding HACCP is crucial for maintaining food safety and compliance in your production processes. ↩
-
Discover how pit installation can improve workflow and reduce physical strain on your staff. ↩
-
Learn why proper maintenance space is essential for machine longevity and operational efficiency. ↩
Mila
You May Also Like

When Should You NOT Use Vacuum Cooling for Your Bakery?
Are you tired of waiting hours for your bread to cool down while your profits evaporate? You might think vacuum

Is Your Cooling Strategy Burning Your Profits? A Cost-Benefit Analysis of Vacuum vs. Conventional Cooling
As a bakery owner, you look at your balance sheet every month. You see the cost of ingredients, labor, and
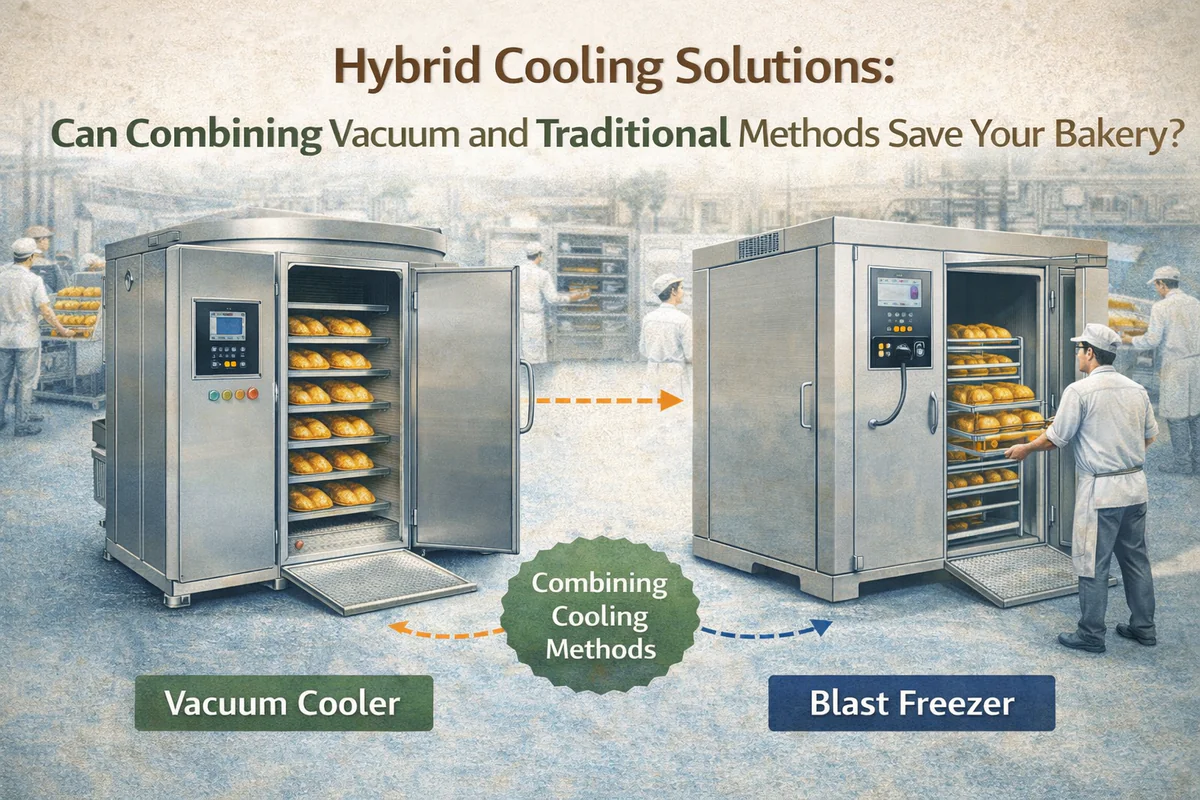
Hybrid Cooling Solutions: Can Combining Vacuum and Traditional Methods Save Your Bakery?
Are you torn between the speed of new technology and the reliability of traditional freezing? Many bakery owners feel they
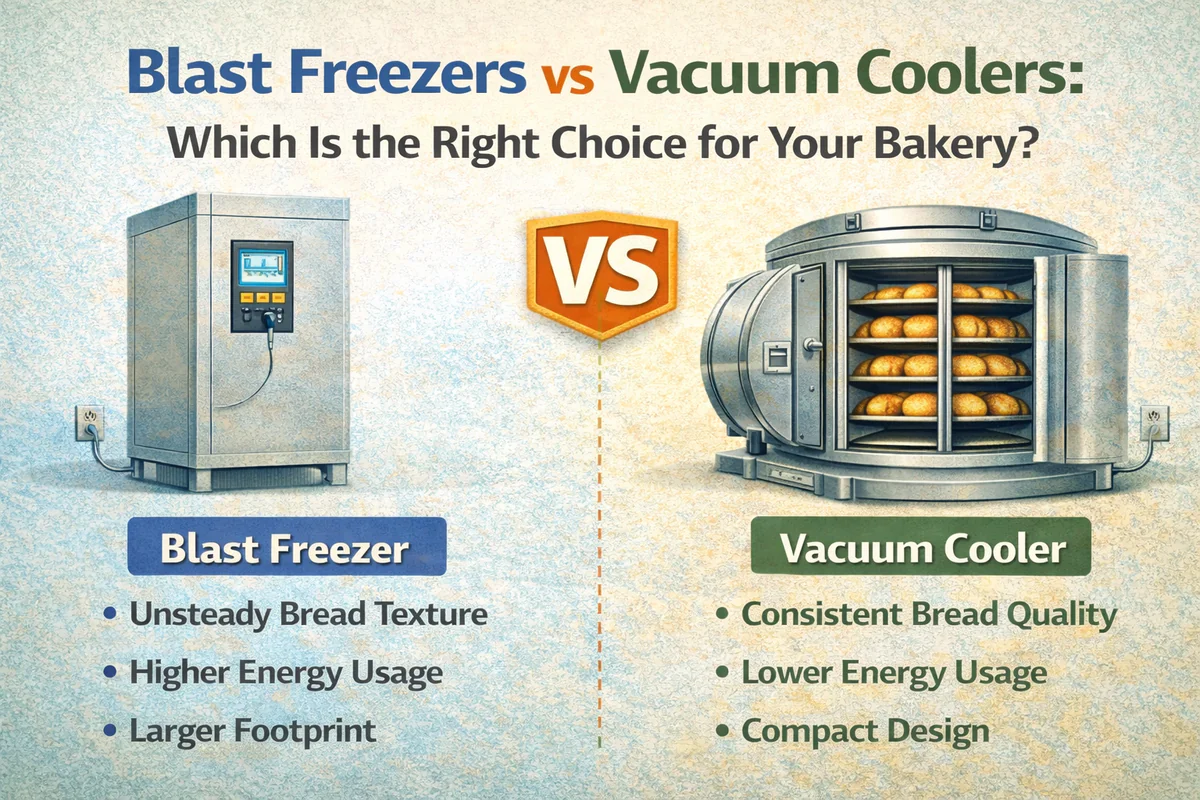
Blast Freezers vs Vacuum Coolers: Which Is the Right Choice for Your Bakery?
Are you tired of watching your freshly baked bread sit on racks for hours, taking up valuable space while you

Bakery Vacuum Cooling vs Spiral Cooling Systems: Which Is Better for Your Business?
Are you struggling with slow production lines because your bread takes forever to cool down? You are not alone. Cooling
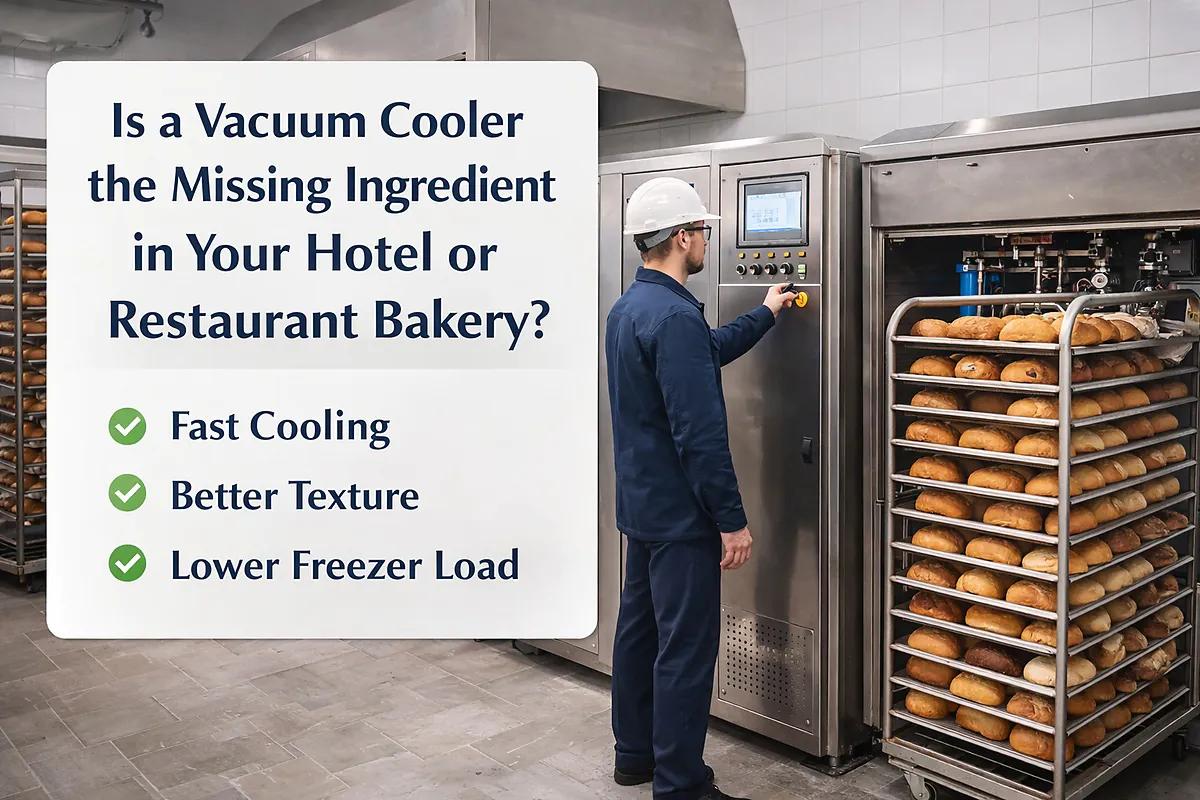
Is a Vacuum Cooler the Missing Ingredient in Your Hotel or Restaurant Bakery?
Imagine your kitchen is in full swing, and the freshly baked bread is finally out of the oven, but it
Can One Cooling System Handle Your Entire Bakery Menu?
You juggle sourdough, delicate pastries, and frozen dough lines daily. Yet, one cooling mistake ruins the texture of your artisan

Is Your Frozen Dough Production Losing Quality Before It Hits the Freezer?
You watch your energy bills climb month after month while your blast freezers work overtime. You see production bottlenecks form

How Can Organic Bakeries Extend Shelf Life Without Preservatives?
You pour your heart into sourcing the finest organic flours and perfecting natural fermentation, only to watch your hard work

Can Vacuum Cooling Finally Fix the "Gummy" Texture in Gluten-Free Bread?
You watch your perfectly risen gluten-free loaves come out of the oven, only to see them sink or turn gummy