
How Do You Guarantee a Perfect Cooling Cycle Every Single Time?
You’ve invested in a state-of-the-art vacuum cooler, but its performance depends entirely on the people who use it every day. Without a standard process, operators might run inefficient cycles, forget crucial checks, or perform improper cleaning.
This inconsistency leads to unpredictable results. Some pallets are perfectly cooled, while others are not. This erodes the machine’s benefits, increases energy costs, and re-introduces the very quality risks you sought to eliminate. It’s a frustrating waste of a powerful investment.
Yes, you can guarantee it with a simple, repeatable daily operating procedure. This standardized routine, covering pre-operation checks, correct cycle execution, and end-of-day cleaning, ensures safety, maximizes efficiency, and delivers perfectly cooled vegetables every single time.
I’ve seen firsthand that the difference between a good and a great vacuum cooling operation is discipline. A machine that is cared for with a daily routine will not only perform better but will also last decades. I provide all my clients with this simple procedural framework to turn their investment into a daily operational success.
What Are the Critical Pre-Operation Checks Before the First Cycle?
The start of the day is your best opportunity to prevent problems. It’s tempting for a busy team to immediately start loading pallets and running cycles, but taking just five minutes for a pre-operation "walk-around" can save hours of downtime later.
Skipping these checks is a gamble. A small issue, like debris on a door seal or a low oil level in a pump, can escalate into a major problem mid-shift. This could mean a failed cycle, a call for emergency maintenance, and a production line at a standstill.
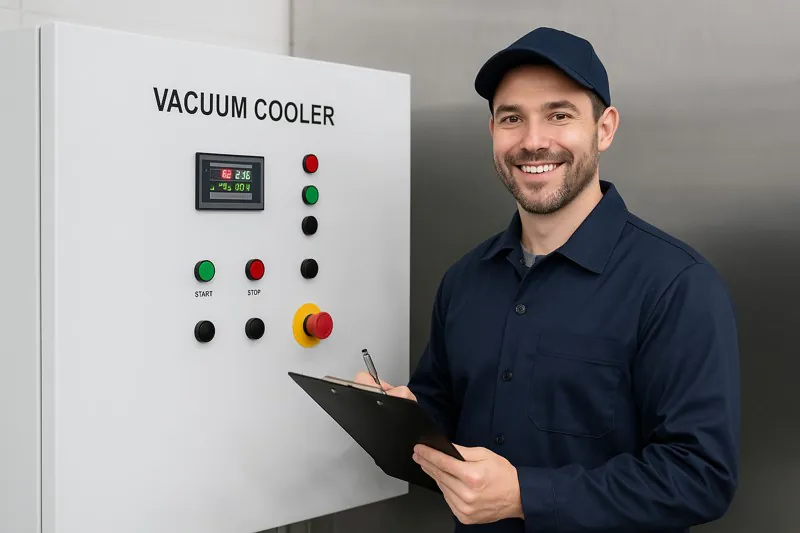
Before the first cycle, you must perform a visual inspection of the entire system. This includes checking the chamber and door seal for cleanliness, verifying vacuum pump oil levels, and ensuring the control panel is active and free of error messages.

The 5-Minute Morning Walk-Around
For a hands-on owner like Carlos, this simple routine is the best insurance policy for his equipment. For a compliance-focused manager like Sophia, this documented check is the first step in the day’s HACCP log.
1. The Chamber and Door Seal Inspection
The integrity of your vacuum chamber1 is everything.
- Door Seal: This is the most critical component for achieving a deep vacuum. I tell every operator to physically run a clean, dry cloth along the entire length of the main door’s rubber gasket. They are looking for two things: any nicks or cuts in the rubber, and any debris. A single leaf stem or piece of dirt can create a micro-leak, forcing the vacuum pumps to work much harder and extending the cycle time.
- Chamber Interior: Look inside the chamber. Is there any leftover organic debris from yesterday? This must be swept out before the first cycle. Old plant matter can harbor bacteria and create odors.
2. The Vacuum Pump System Check
Your vacuum pumps are the engine of the machine.
- Oil Level: Most high-performance vacuum pumps are oil-sealed. There is a sight glass on the side of each pump. The oil level should be right in the middle of this glass. If it’s low, the pump can overheat and fail. If it’s too high, it can cause other issues.
- Unusual Signs: Is there any oil puddled under the pump? This could indicate a leak that needs attention from a maintenance technician.
3. The Control Panel and Safety Systems
This is your command center.
- Power On: Ensure the main electrical disconnect is on and the control panel screen is active.
- Error Messages: Check if the screen is showing any active alarms or error messages from the previous day. If so, these must be cleared or addressed before starting.
- Emergency Stops: Visually confirm that all emergency stop buttons are in the "out" position and not engaged.
| Pre-Op Check Area | Action Required | Why It’s Critical (The Risk of Skipping) |
|---|---|---|
| Door Seal | Wipe with a clean, dry cloth | Prevents vacuum leaks, ensures fast cycle times |
| Chamber Interior | Sweep out any organic debris | Prevents contamination and odors (HACCP compliance) |
| Vacuum Pump Oil | Check sight glass for correct level | Prevents pump seizure and catastrophic failure |
| Control Panel | Confirm power and check for errors | Prevents starting a cycle with an existing fault |
| Safety Systems | Verify E-stop buttons are disengaged | Ensures emergency systems are ready and the machine can run |
How Do You Run a Correct and Efficient Cooling Cycle?
The goal of each cycle is not just to make the produce cold, but to do it efficiently and consistently. Operators under pressure might be tempted to cut corners, overload the machine, or manually adjust settings they don’t understand.
These "shortcuts" almost always backfire. Overloading the chamber can block airflow and lead to uneven cooling. Manually overriding a pre-set program can result in produce that is too cold (freezer burn) or not cold enough, completely defeating the purpose of the machine.
To run a correct cycle, you must load the chamber to its specified capacity, select the correct pre-programmed "recipe" for the type of vegetable being cooled, and allow the automated cycle to run to completion without interruption.
Executing the Perfect Cycle
This is where the training we provide pays off. Carlos’s team needs to know that following the program is the fastest way to get high-quality results. The data from these perfect cycles is what proves to a buyer like Norman that the quality is guaranteed.
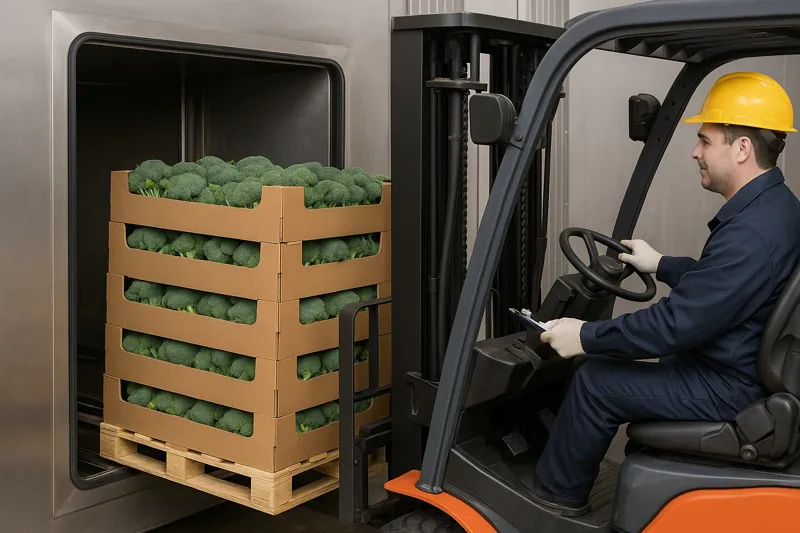
1. Loading for Success
How you load the pallet is as important as the cycle itself.
- Respect the Capacity2: Our machines are designed for a specific number of pallets (e.g., a "12-pallet cooler"). Trying to squeeze in an extra pallet is a false economy. It compromises airflow and results in a longer, less effective cooling cycle for all pallets.
- Pallet Placement: The pallets should be placed according to the guide rails on the floor of the chamber. This ensures there are adequate channels for the water vapor (the "heat") to escape from the product and travel to the refrigeration coils at the back. Never push pallets tight against the back wall.
2. Using the "Recipes"
Your control panel is a powerful computer.
- Select, Don’t Guess3: During commissioning, we work with you to create optimized programs or "recipes" for each of your main products (e.g., ‘Romaine Lettuce’, ‘Broccoli Crowns’, ‘Baby Spinach’). The operator’s only job is to select the correct recipe from the touchscreen menu.
- Trust the Automation4: These recipes control the vacuum pump sequence and final pressure to achieve the target temperature (e.g., 2°C / 36°F) perfectly. The operator should not try to manually end the cycle early or change settings. The machine knows the fastest path to the target temperature.
3. Monitoring the Cycle5
The control panel provides valuable information. The operator should watch the screen during the cycle. They will see the pressure inside the chamber dropping rapidly and then stabilizing as the cooling finishes. The cycle will end automatically when the pre-set pressure (which corresponds to the target temperature) is reached. This process provides a clear and traceable record of performance.
| Cycle Step | The Wrong Way | The Right Way | Outcome of the Right Way |
|---|---|---|---|
| Loading | Squeezing in extra pallets, blocking airflow | Load to specified pallet capacity using guide rails | Even, fast, and efficient cooling for every pallet |
| Program | Guessing the time or manually running the pumps | Select the pre-programmed "recipe" for the product | Precise, repeatable final temperature |
| Execution | Interrupting the cycle early to save time | Allow the automated cycle to complete fully | Guarantees the core temperature is reached |
What Is the Correct End-of-Day Shutdown and Cleaning Procedure?
At the end of a long shift, the easiest thing to do is to simply turn the machine off and go home. However, this is one of the most damaging things you can do for both the machine’s longevity and your food safety compliance.
Organic matter and moisture left overnight inside a closed chamber create a perfect breeding ground for bacteria, mold, and yeast. This not only presents a serious hygiene risk but the acids produced by spoilage can slowly corrode the chamber’s interior.
The correct end-of-day procedure involves a full shutdown sequence followed by a thorough cleaning of the chamber interior and door seal. This is a non-negotiable step for food safety and for protecting the long-term value of your equipment.
The Shutdown and Sanitation Protocol
This is the single most important procedure for Sophia’s HACCP plan. She needs to know that the equipment is being sanitized daily to prevent any risk of cross-contamination. For Carlos, this simple routine protects the stainless steel and welds of his multi-thousand dollar investment.
1. The Shutdown Sequence6
Don’t just hit the main power switch.
- Proper Stop: Use the "Stop" or "End of Day" function on the control panel. This allows the system to shut down in an orderly fashion.
- Leave the Door Open: After the final cleaning, the main chamber door should be propped open overnight. This allows the interior to air dry completely, which is a critical step in preventing microbial growth. A dark, damp, sealed chamber is a recipe for trouble.
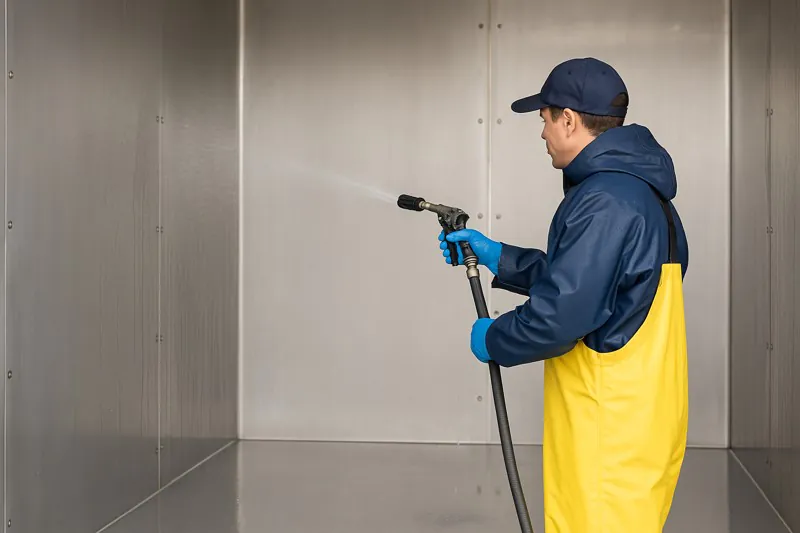
2. The Cleaning Protocol7
This should be a documented part of your daily sanitation schedule.
- Remove Gross Debris: First, use a soft broom or a shop vacuum to remove all loose leaves, stems, and dirt from the chamber floor and conveyor rails.
- Wash Down: Use a low-pressure water hose to rinse all interior surfaces. Start from the top and work your way down. High pressure is not needed and can damage sensors.
- Foam and Scrub (If Needed): For facilities with very strict hygiene standards, like those supplying ready-to-eat products, a food-grade foaming sanitizer can be applied. Let it sit for the recommended contact time, then lightly scrub surfaces with a soft brush and rinse thoroughly.
- Final Rinse8: A final, complete rinse with clean water is essential to remove any cleaning agent residue.
- Door Seal Care9: The door seal should be wiped down again with a clean, damp cloth to remove any accumulated grime.
| Cleaning Frequency | Task | Tools Required | HACCP Justification |
|---|---|---|---|
| Daily | Sweep debris, rinse interior, wipe door seal | Broom, low-pressure hose, cloths | Prevents overnight microbial growth |
| Weekly | Apply and rinse food-grade sanitizer | Sanitizer, soft brush | Kills accumulated biofilms |
| Monthly | Clean refrigeration condenser coils | Air compressor, soft brush | Maintains cooling efficiency and saves energy |
Conclusion
A standardized daily operating procedure transforms your vacuum cooler from a simple machine into a reliable, high-performance system. It empowers your team, guarantees food safety, and ensures every vegetable you ship is of the highest possible quality.
-
Explore the mechanics of vacuum chambers to enhance your knowledge of food preservation and safety. ↩
-
Understanding capacity ensures optimal airflow and effective cooling, leading to better product quality. ↩
-
Selecting recipes guarantees precision and consistency, enhancing the efficiency of the cooling process. ↩
-
Trusting automation allows for optimal performance, ensuring the fastest path to the desired temperature. ↩
-
Monitoring provides valuable insights and ensures that the cooling process meets quality standards. ↩
-
Understanding the Shutdown Sequence is crucial for effective HACCP implementation and ensuring food safety. ↩
-
Exploring the Cleaning Protocol helps maintain hygiene standards and prevents contamination in food processing. ↩
-
The Final Rinse is essential to eliminate cleaning agent residues, ensuring food safety and compliance with hygiene regulations. ↩
-
Proper Door Seal Care is vital for maintaining equipment efficiency and preventing contamination, ensuring a safe food environment. ↩
Interested in vacuum cooling for your operation?
Allcold has delivered systems to 30+ countries for fresh produce, bakery, and cooked food applications. Share your requirements with our engineering team.
Mila
You May Also Like
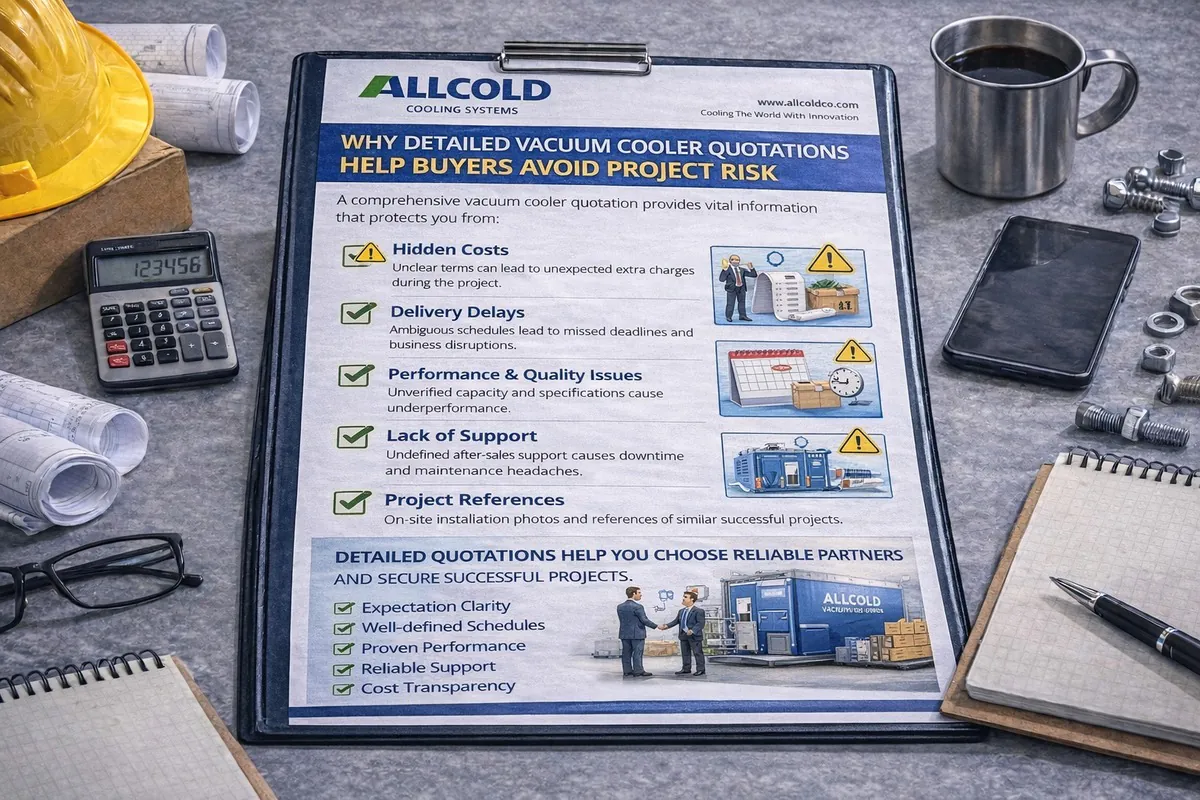
Why Detailed Vacuum Cooler Quotations Help Buyers Avoid Project Risk
Learn why detailed vacuum cooler quotations help buyers avoid project risk by clarifying technical conditions, key components, warranty, support, and commercial terms before purchase.

Why Do Vacuum Cooler Energy Costs Vary So Much?
You’re calculating the return on investment for a new vacuum cooler, but there’s a huge unknown: the electricity bill. You
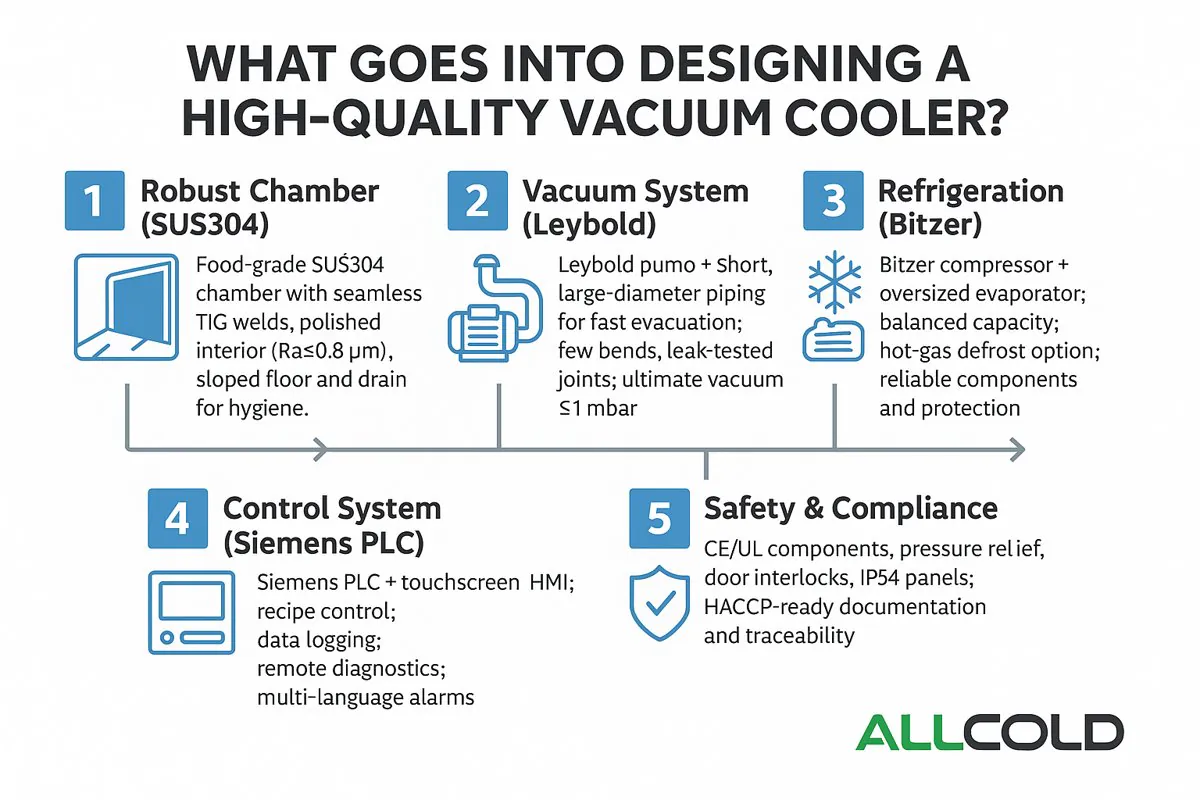
What Goes Into Designing a High-Quality Vacuum Cooler?
At first glance, a vacuum cooler seems simple: it is a steel box that makes vegetables cold. But this simplicity
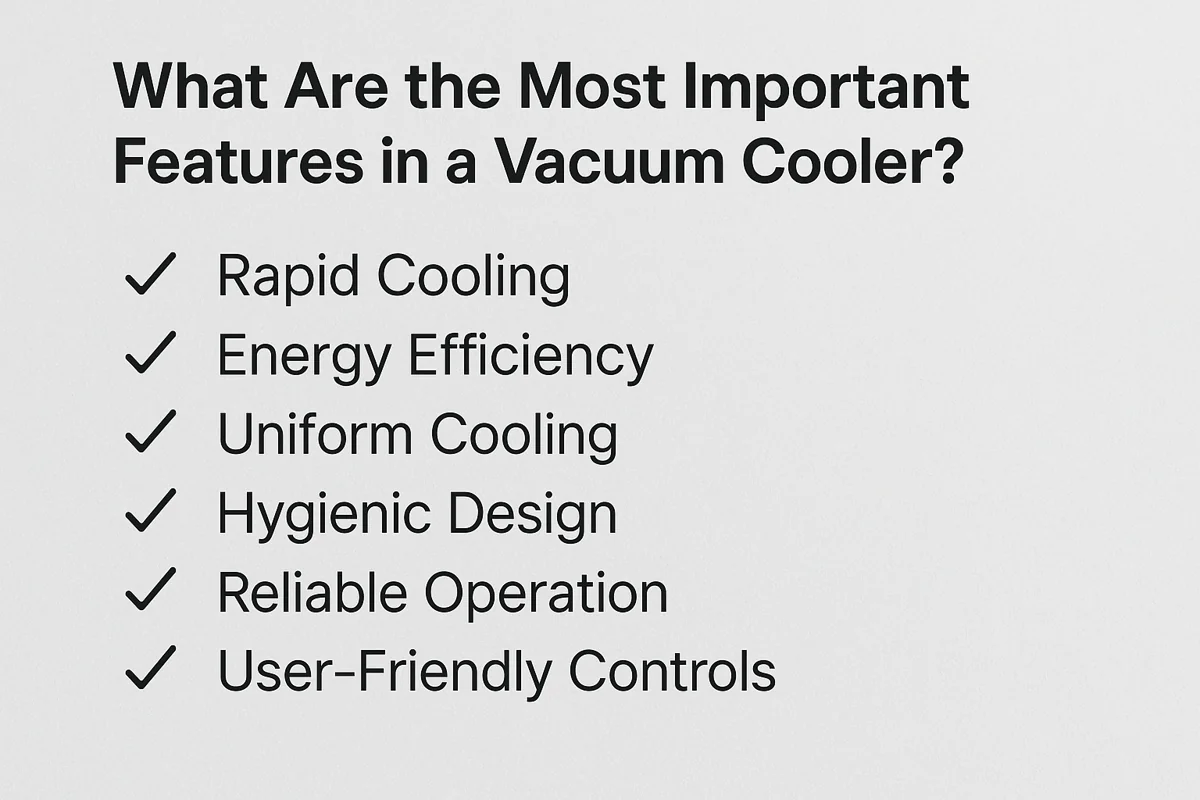
What Are the Most Important Features in a Vacuum Cooler?
You’re comparing quotes from different suppliers, and the specification sheets all start to look the same. They all list a

Where Can You Find Reliable Vegetable Vacuum Cooler Suppliers?
You’ve made the decision to invest in a vacuum cooler, but now you face an even bigger challenge: finding a
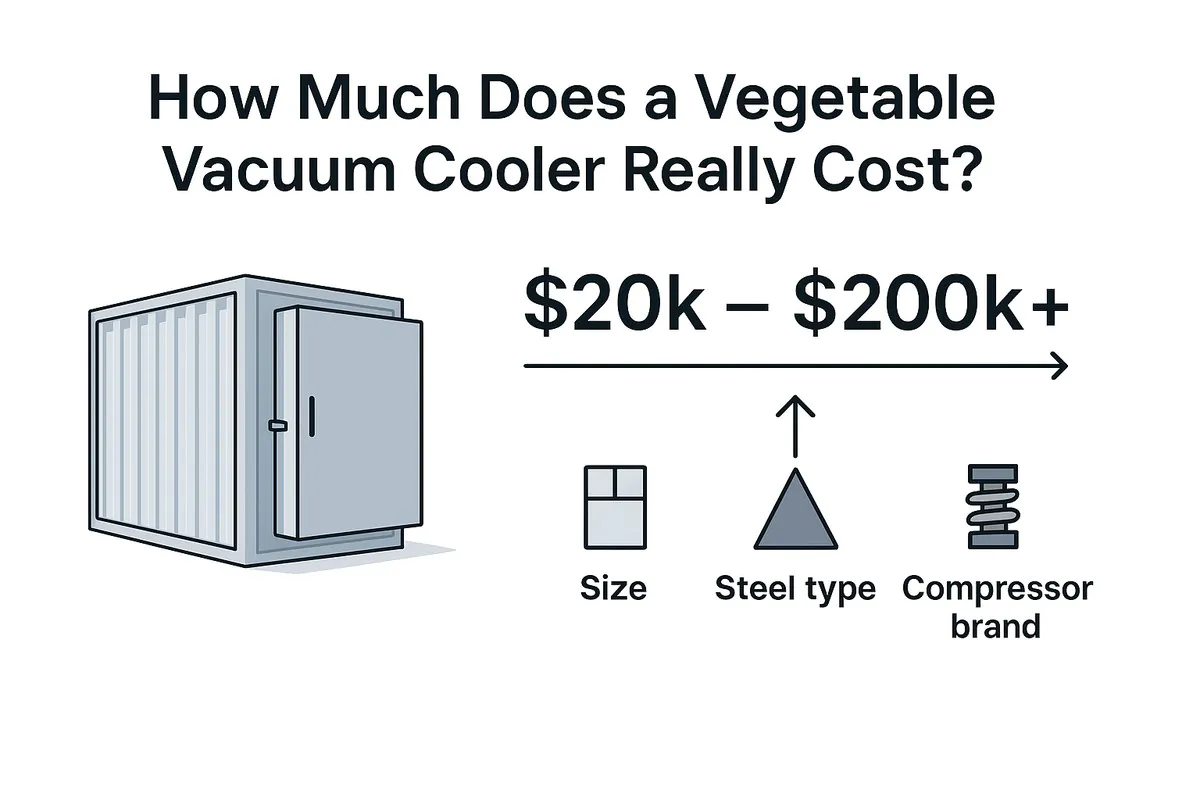
How Much Does a Vegetable Vacuum Cooler Really Cost?
You know you need a vacuum cooler to improve your product quality, but the price is a huge question mark.
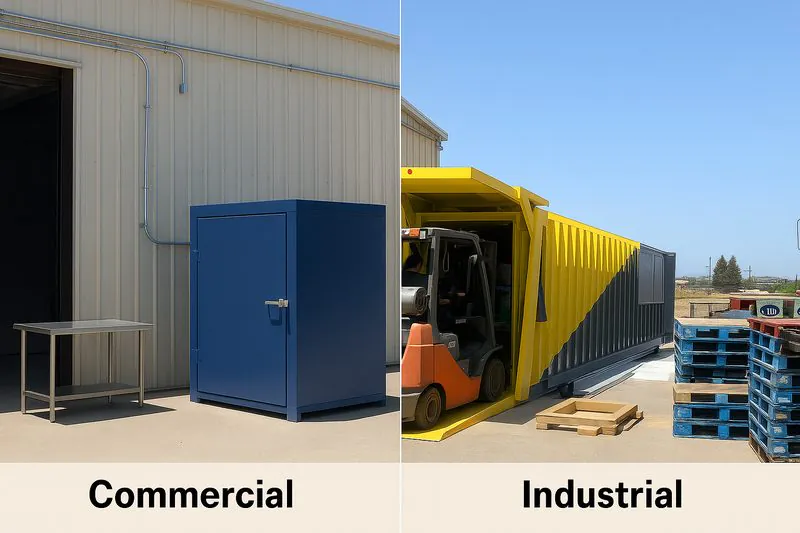
Industrial vs. Commercial Vacuum Coolers: Which Should You Choose?
Your business is growing, and you know that rapid post-harvest cooling is the key to quality and profit. But as
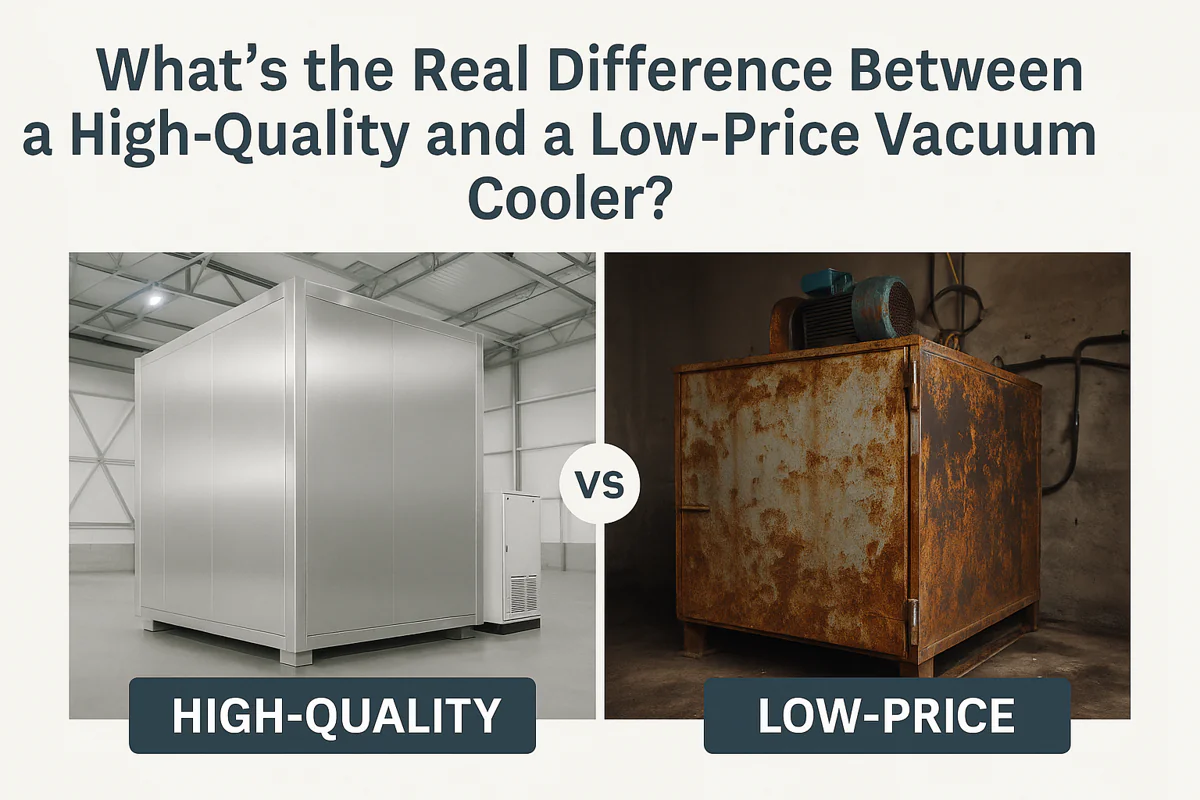
What's the Real Difference Between a High-Quality and a Low-Price Vacuum Cooler?
You are looking for a vacuum cooler, and you see a huge range of prices. One supplier quotes a price

How Do You Choose the Best Vegetable Vacuum Cooler in 2025?
Choosing a vacuum cooler is one of the biggest investments you’ll make in your farm or food business. The market

What Can You Learn from Farms That Mastered Vacuum Cooling?
You see the challenges in your own operation every day: the race against field heat, the constant worry about shelf