FRESH PRODUCE · POST-COOLING HANDLING
The cooling cycle can finish correctly—and the load can still become wet on its way to cold storage. Before changing the machine settings, check the air it meets after the door opens.
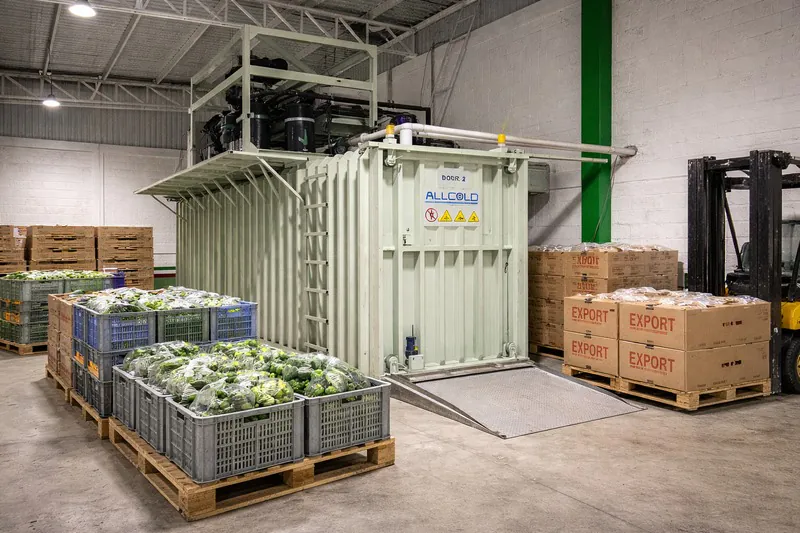
A pallet leaves the vacuum cooler at the agreed product temperature. It waits beside the loading area while a forklift becomes available. By the next inspection, droplets have appeared on exposed produce or packaging. Was the load cooled incorrectly, or did something change outside the chamber?
Produce can sweat after vacuum cooling when its surface is colder than the dew point of the surrounding air. Moisture from that air then condenses on the cold surface. This does not, by itself, prove a cooling fault. Check when the water first appears, compare surface temperature with local dew point, and protect the transfer into suitable cold storage.
Compare surface temperature with dew point—not relative humidity alone
Dew point expresses the temperature at which air becomes saturated when cooled at constant pressure. Relative humidity describes how close the air is to saturation at its current temperature. The same RH percentage can therefore mean very different condensation conditions in a warm loading area and a cold room.[1]
For this check, the relevant temperature is the surface exposed to that air: an outer leaf, carton wall or film surface. A product-core reading answers a different question. Both can be useful, but one should not stand in for the other.
The University of Florida describes this “sweating” mechanism for cold produce moved into warmer air. It is not unique to vacuum-cooled produce; it can happen after other cooling methods too.[2]
A load at 4°C entering a 25°C packing area
Consider an illustrative transfer—not an Allcold performance test. The exposed surface is 4°C. Packing-area air is 25°C at 70% RH. Its dew point is approximately 19°C, well above that surface temperature. Condensation is possible even though the product reached its intended cooling endpoint.
| Air temperature | Relative humidity | Approximate dew point | Comparison with a 4°C surface |
|---|---|---|---|
| 25°C | 70% | 19°C | Surface is below dew point: condensation is possible. |
| 10°C | 70% | 5°C | Still below dew point: a cooler transfer area is not automatically sufficient. |
| 5°C | 85% | 3°C | Surface is above dew point: this air would not be expected to condense on that surface. |
Calculated from air temperature and RH using a saturation-vapor-pressure approximation and rounded to whole degrees. Use measured conditions and account for sensor accuracy near the boundary. Vaisala publishes humidity-conversion equations and a calculator for checking site values.[3]
This comparison indicates the direction of moisture transfer, not how many droplets will form or how quickly. Air movement, exposure time, changing surface temperature and packaging also affect the outcome. There is no universal “safe number of minutes” on a warm dock.
First establish where the water comes from
A photograph of a wet carton is not enough to diagnose a vacuum cooler. Record the first point in the process where wetness is visible, then investigate the pattern.
| Observation | What to investigate | Useful check |
|---|---|---|
| New droplets after exposure to packing-area air | External condensation | Compare exposed surface temperature with that area’s dew point. |
| Wetness already present before cooling | Rain, washing, retained water or a configured wetting step | Inspect the load before entry; review drainage and the actual process. |
| Localized drops beneath a pipe or ceiling | Overhead condensation, a leak or splash | Trace the source rather than attributing it to the product. |
| Droplets mainly inside a liner | Moisture and temperature conditions within the package | Compare wetness before cooling, after cooling and after transfer using the same pack format. |
More than one cause may be present. If water is unexplained or could have contacted an unclean surface, follow the site’s product-handling procedure; do not assume it is harmless condensation. For a separate assessment of moisture lost during cooling, use the vacuum-cooling weight-loss guide. Water gained on a surface after discharge is not the same measurement as evaporative product loss inside the chamber.
Protect the transfer without compromising the cooling target
Make the destination ready before discharge
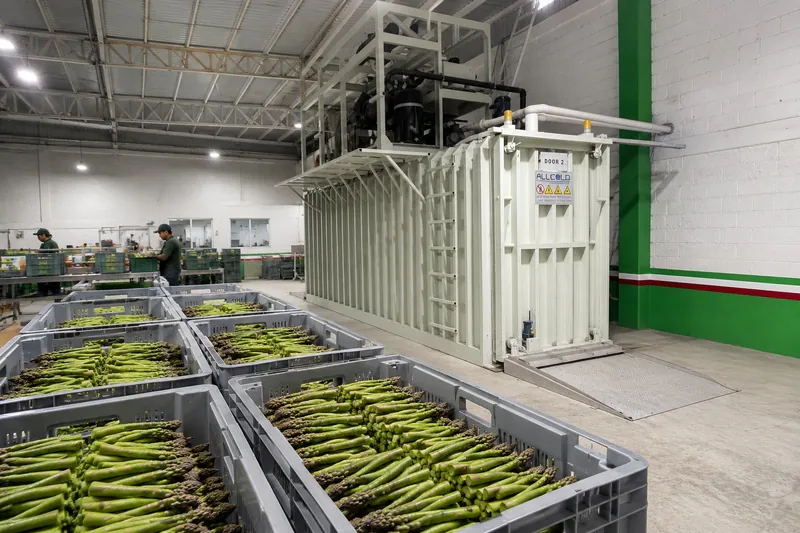
Reserve space in suitable cold storage and arrange the unloading equipment before the batch finishes. Avoid using the warm packing area as the default queue for cooled pallets. Where direct transfer is not possible, review a protected staging arrangement with the refrigeration and layout teams.
This is a coordination decision as much as an equipment decision. A shorter route still performs poorly if its doorway is blocked. Map the actual stopping points as well as the distance; the packhouse layout guide covers the wider throughput implications.
Control humid-air entry where exposure occurs
Check doors, openings and air movement along the discharge route. Depending on the building, the response might involve a refrigerated transfer space, better door management or a properly designed separation between warm and cold areas. Ask the designer to evaluate the resulting dew point—not merely promise a lower room temperature.
Do not assume a fan solves the problem. Blowing warm, humid air across cold produce can increase contact with air capable of depositing moisture. Air circulation belongs in a considered temperature-and-humidity plan, not a blanket instruction to “dry the load.”
Do not make the cold room unnecessarily dry
High humidity and liquid water on a surface are different conditions. For example, UC Davis lists optimum RH above 95% for crisphead lettuce and identifies low-humidity conditions as a contributor to water loss.[4] That is not a specification for every crop, or a reason to allow persistent droplets.
The objective is to maintain the crop’s suitable storage conditions while limiting disruptive air exchanges and temperature swings. Lowering RH everywhere may exchange one problem—wet surfaces—for another—dehydration.
Check one real transfer from start to finish
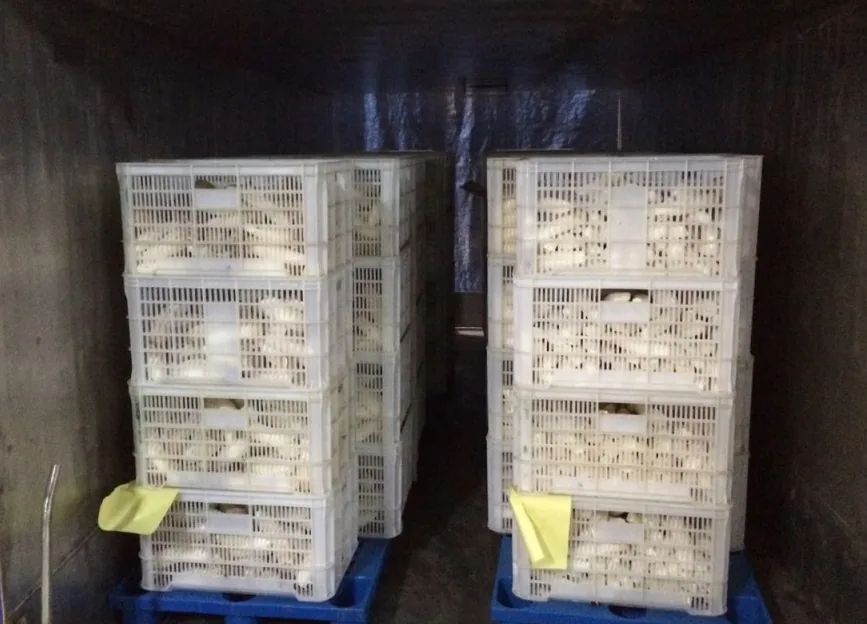
Begin with a representative batch and the packaging actually used for shipment. A simple written record is sufficient for an initial investigation; an integrated logging system is not a prerequisite.
- Before cooling: record the crop, pack format, incoming temperature and visible wetness.
- At discharge: record product-temperature readings and the condition of exposed surfaces as soon as normal, safe access is available.
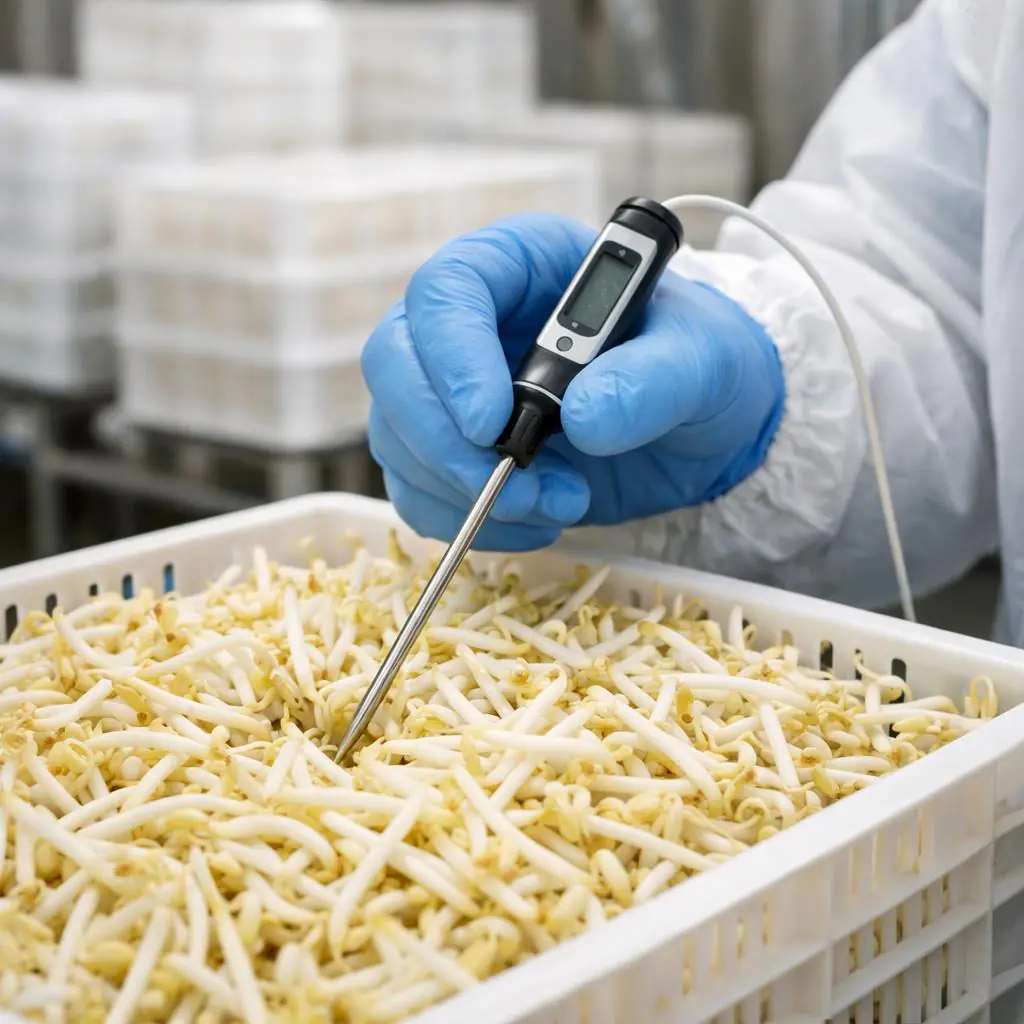
- Along the route: measure air temperature and RH near the load, including waiting points. Compare local dew point with a suitable surface-temperature measurement.
- At cold-storage entry: note elapsed transfer time and where new wetness appeared. Photograph the same marked cartons or crates.
- Repeat after a targeted change: keep the product and pack format comparable, change one suspected cause where practical, and compare the results during realistic busy-period conditions.
The standard two product probes used on Allcold vegetable machines monitor product temperature; they do not replace an ambient humidity measurement. For their placement, see the two-probe guide. Select any additional measuring instrument for the surface and environment being checked, and follow its instructions.
Ask for a post-cooling handling plan—not just a colder endpoint
When requesting fresh-produce vacuum cooling equipment, send a sketch of the discharge-to-storage route alongside the usual product and capacity information. Include:
- Crop, packaging, target product temperature and pallet dimensions.
- Measured seasonal temperature and RH around the discharge face and staging area.
- Cold-room location, intended storage conditions and available receiving space.
- Expected batch discharge size, forklift availability and likely waiting points.
- Who supplies and coordinates any cold-room, doorway or humidity-control work.
Request clear boundaries in the quotation. Chamber configuration can be reviewed around the site, but a vacuum cooler does not automatically control the building air after unloading. Any ambient sensing, dehumidification or building integration should be confirmed separately.
Frequently asked questions
Does sweating mean the vacuum cooler failed?
Not necessarily. A correctly cooled surface can collect moisture when exposed to air with a higher dew point. Check cooling results and the transfer environment separately before diagnosing the machine.
Should we stop cooling earlier to avoid condensation?
Not as a general remedy. Use the crop’s agreed cooling and storage requirements. Warming the load may reduce a visible symptom while undermining the reason for pre-cooling.
Should we remove liners or stretch wrap?
Not automatically. Packaging has moisture-retention and handling functions as well as cooling implications. Inspect where droplets form and test changes with the relevant packaging supplier; do not compromise load stability.
Will faster transfer eliminate all condensation?
It reduces exposure time but cannot guarantee zero condensation if the surface meets air above its dew point. Combine prompt handling with suitable conditions along the route.
Plan what happens when the cooler door opens
Send Allcold your product, pallet format, temperature target and a sketch of the route to cold storage. Include available temperature and humidity readings so the cooling equipment discussion reflects the whole handling process.
References and calculation notes
- NOAA / National Weather Service, Dew Point vs. Humidity. Definitions and the distinction between dew point and RH. ↩
- University of Florida IFAS, Packinghouse Newsletter No. 158, page 3: Condensation (“Sweating”) on Fruit Leaving Cold Storage (1989). Cited for the physical mechanism, not the historical treatment recommendations elsewhere in the issue. ↩
- Vaisala, HMP155 calculation formulas; Humidity Calculator. Article examples use an approximate saturation-pressure relationship over liquid water at normal atmospheric conditions; values are rounded, illustrative and not measured operating results. ↩
- UC Davis Postharvest Research and Extension Center, Lettuce (Crisphead, Iceberg). Crop-specific humidity and water-loss context; do not apply this crop’s conditions to every product. ↩
The workflow checklist and project-brief recommendations are Allcold editorial applications of these principles, not a quoted industry standard. Photographs are from the company archive; no equipment or condensation has been generated or added.